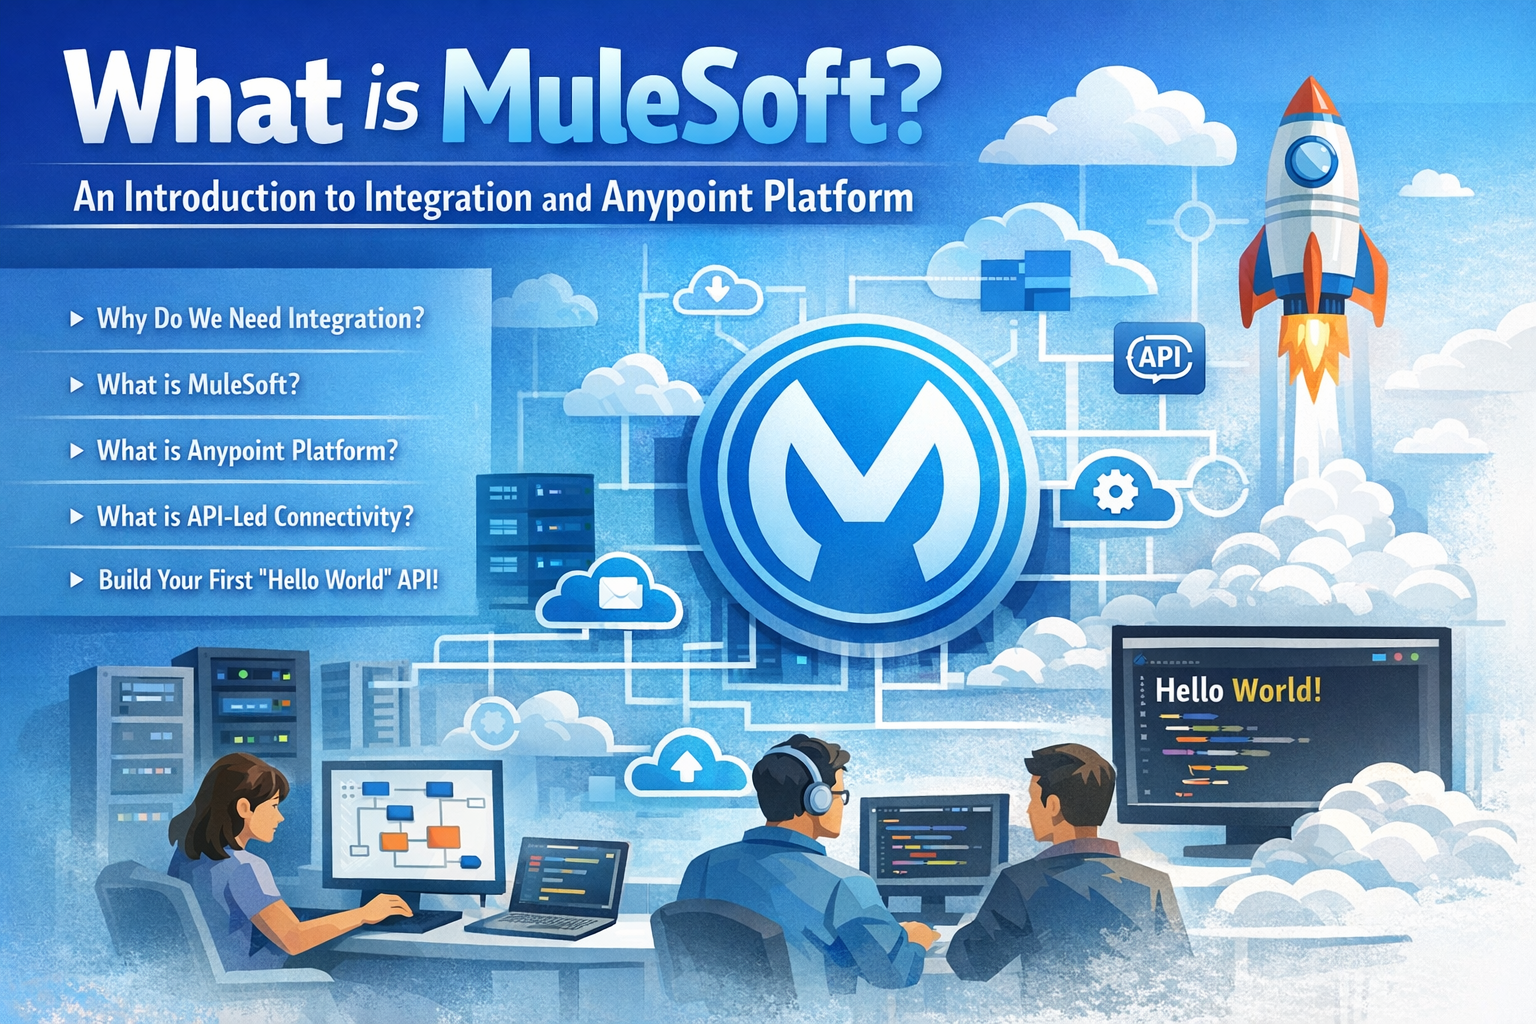
Ch.01-What is MuleSoft?
Integration, Anypoint Platform & API-Led Connectivity
Welcome to the first chapter of MuleSoft from Zero to Hero! By the end of this series you’ll be able to design, build, deploy, and manage sophisticated integrations like a seasoned architect. But before writing a single line of code, we need to lay the conceptual foundation that everything else builds on.
In this chapter we answer four fundamental questions that every MuleSoft developer needs to understand deeply:
- ▸Why do enterprises need integration in the first place?
- ▸What is MuleSoft and how does Anypoint Platform work?
- ▸What is API-led connectivity — and why does it matter?
- ▸How do you build and run your very first Mule application?
1. The Integration Challenge
Imagine you work for a fast-growing e-commerce company. Your technology stack looks like this:
Each system speaks its own language and lives in different places — on-premises or in the cloud. Some use SOAP, others REST, some expose no API at all and only allow file-based batch imports. To give customers a seamless experience — like showing real-time inventory when they add something to their cart — these systems must talk to each other. That’s integration.
2. What is MuleSoft?
MuleSoft — now part of Salesforce — provides a platform to connect applications, data, and devices both in the cloud and on-premises. At its heart is the Mule runtime engine, a lightweight Java-based integration engine that processes messages through configured flows.
Per the official Salesforce/MuleSoft product page: Anypoint Platform is a unified, single solution for iPaaS and a full lifecycle API management that allows you to securely develop, deploy and manage simple to complex APIs and integrations at scale in one platform. It enables you to deliver projects 5× faster with reuse vs. custom code.
Instead of building custom glue code for every connection, MuleSoft gives you:
- ▸Pre-built connectors — Salesforce, SAP, Oracle, AWS S3, HTTP, Database, JMS, Slack, Workday, and 1000+ more on Anypoint Exchange
- ▸A graphical IDE (Anypoint Studio) where you design integrations as visual flows
- ▸DataWeave — MuleSoft’s powerful expression and transformation language
- ▸Centralized governance — policies, monitoring, and security applied consistently across all APIs
3. Anypoint Platform — The Complete Toolkit
Per the official Anypoint Platform architecture docs, the platform is divided into two fundamental planes: the Control Plane (design, manage, monitor) and the Runtime Plane (where your integrations actually run). This separation lets you deploy your runtime plane in a MuleSoft-managed cloud, your own cloud, or fully on-premises.
Here’s a quick overview of the key components you’ll use throughout this series:
| Component | What it does | When you use it |
|---|---|---|
| Design Center | Design APIs in RAML or OAS 3.0, test with mocking | Chapters 5A & 5B |
| Anypoint Exchange | Share and discover connectors, API specs, templates | Throughout the series |
| Anypoint Studio | Eclipse-based IDE — build flows graphically | Chapters 2, 3, 4, 6 |
| API Manager | Apply policies, SLA tiers, OAuth, rate limiting | Chapter 7 |
| Runtime Manager | Deploy and manage Mule apps across all environments | Chapter 7 |
| Anypoint Monitoring | Dashboards, alerts, log search, Einstein AI diagnostics | Chapter 7 |
| Flex Gateway | Ultra-fast Rust-based gateway for any HTTP backend | Chapter 7 |
| CloudHub 2.0 | Managed containerized runtime across 12 global regions | Chapter 7 |
4. API-Led Connectivity
MuleSoft promotes an architectural pattern called API-led connectivity — a methodical way to connect data to applications through reusable and purposeful APIs. Per the official Salesforce blog: On average, MuleSoft’s customers found that the agility and speed provided by API-led connectivity led to delivering projects 3 to 5 times faster and increased team productivity by 300%.
Instead of connecting systems directly, you organize APIs into three distinct layers — each with a single, clear responsibility:
Real-world example — Retail Customer 360:
- ▸The Salesforce System API wraps the complex SOAP calls to Salesforce and exposes a simple REST endpoint
GET /salesforce/customers/{id} - ▸The Customer 360 Process API calls the Salesforce, SAP, and MySQL System APIs in parallel (Scatter-Gather), merges the results, and returns a unified customer profile with orders, balance, and contact details
- ▸The Mobile Experience API calls the Customer 360 Process API but strips it down to just the fields the mobile app needs — saving bandwidth and battery
- ▸A new Partner Experience API reuses the same Customer 360 Process API but returns a richer, differently-shaped response for B2B partners
5. Build Your First Mule Application
Theory is great, but nothing beats running code. Let’s build a real HTTP API that accepts a name query parameter and returns a JSON greeting. By the end you’ll have seen the Mule runtime in action and understand how every piece fits together.
5.1 Install Anypoint Studio
Download Anypoint Studio from the MuleSoft website — the 30-day trial is free, no credit card required. It installs like any desktop app. When you launch it, Studio asks for a workspace folder — choose or create one, then click Launch.
5.2 Create a New Mule Project
- ▸In Studio: File → New → Mule Project
- ▸Name:
hello-world-api - ▸Runtime: Mule Server 4.9 (LTS)
- ▸Leave everything else as default → click Finish
Studio generates the project structure with a hello-world-api.xml file already open on the canvas.
5.3 Build the Flow on the Canvas
From the Mule Palette (right panel), search for and drag these three components onto the canvas in this order:
5.4 Configure the HTTP Listener
Double-click the HTTP Listener component. In the properties panel below the canvas:
- ▸Click the + next to “Connector configuration” → Create a new HTTP Listener Config with
Host: 0.0.0.0,Port: 8081→ Click Test Connection → it should succeed → OK - ▸Set Path:
/hello - ▸Set Allowed Methods:
GET
5.5 Configure Set Payload with DataWeave
Double-click Set Payload. In the Value field, click the fx button (switches to expression mode) and enter:
DataWeave — Set Payload Value field
%dw 2.0
output application/json
---
{
  message: "Hello, " ++ (attributes.queryParams.name default "World") ++ "!"
}
Set MIME Type to application/json. Let’s break down the DataWeave:
- ▸
attributes.queryParams.name— reads the?name=query parameter from the HTTP request - ▸
default "World"— ifnameis missing, use “World” as fallback - ▸
++— the DataWeave string concatenation operator
5.6 Configure the Logger
Double-click Logger. In the Message field enter #[payload]. Set Level to INFO. This prints the response payload to the Studio console on every request — invaluable for debugging.
5.7 Run the Application
Save the file (Ctrl+S / Cmd+S) → right-click your project in Package Explorer → Run As → Mule Application. Watch the Console tab — you’ll see the application build, deploy, and finally:
Studio Console — startup log
INFO  Starting app 'hello-world-api'...
INFO  Mule is up and kicking (every 5000ms)
INFO  Listening on 0.0.0.0:8081
5.8 Test Your API
Open a browser, Postman, or a terminal and send:
curl — Test requests
# With name parameter
curl http://localhost:8081/hello?name=Maria

# Default (no name)
curl http://localhost:8081/hello
You should receive:
JSON Response
{ "message": "Hello, Maria!" }
{ "message": "Hello, World!" }
6. What Just Happened Under the Hood?
When you hit GET /hello?name=Maria, Mule executed this exact sequence. The official HTTP Connector docs explain that after a flow finishes, the HTTP Listener automatically sends the final payload back as the HTTP response body with status 200. If the flow throws an uncaught error, it responds with 500.
Here’s the complete XML generated by Studio. You can view it by clicking the Source tab at the bottom of the canvas:
XML — hello-world-api.xml (official Mule 4.6 syntax)
<?xml version="1.0" encoding="UTF-8"?>
<mule xmlns:http="http://www.mulesoft.org/schema/mule/http"
      xmlns="http://www.mulesoft.org/schema/mule/core"
      xmlns:doc="http://www.mulesoft.org/schema/mule/documentation"
      xmlns:xsi="http://www.w3.org/2001/XMLSchema-instance"
      xsi:schemaLocation="http://www.mulesoft.org/schema/mule/core
        https://repository.mulesoft.org/nexus/content/repositories/releases/org/mule/runtime/mule-module-artifact-ast-xml-parser/4.6.0/mule-module-artifact-ast-xml-parser-4.6.0-mule-plugin.jar!/mule-core.xsd
        http://www.mulesoft.org/schema/mule/http
        https://repository.mulesoft.org/nexus/content/repositories/releases/org/mule/connectors/mule-http-connector/1.10.0/mule-http-connector-1.10.0-mule-plugin.jar!/META-INF/mule-http.xsd">

  <!-- Global: HTTP Listener config — reusable across all flows -->
  <http:listener-config
    name="HTTP_Listener_config"
    doc:name="HTTP Listener config">
    <http:listener-connection
      host="0.0.0.0"
      port="8081"/>
  </http:listener-config>

  <!-- Flow: greet caller with their name -->
  <flow name="hello-world-api-flow" doc:name="hello-world-api-flow">

    <!-- ① Source: listen for GET /hello -->
    <http:listener
      config-ref="HTTP_Listener_config"
      path="/hello"
      allowedMethods="GET"
      doc:name="GET /hello"/>

    <!-- ② Transform: build JSON response using DataWeave -->
    <set-payload
      value='#[%dw 2.0 output application/json --- { message: "Hello, " ++ (attributes.queryParams.name default "World") ++ "!" }]'
      mimeType="application/json"
      doc:name="Build JSON response"/>

    <!-- ③ Log: print payload to console for debugging -->
    <logger
      level="INFO"
      message="#[payload]"
      doc:name="Log response"/>

  </flow>

</mule>
7. Chapter Summary
- MuleSoft is an integration platform that connects applications, data, and devices — cloud or on-premises — replacing fragile point-to-point connections with a centralized hub.
- Anypoint Platform covers the full API lifecycle: Design Center · Exchange · Anypoint Studio · API Manager · Runtime Manager · Monitoring. Divided into Control Plane and Runtime Plane.
- API-led connectivity organizes integrations into System (unlock data) → Process (orchestrate) → Experience (tailor per consumer) layers. Each layer has one clear responsibility. Reuse reduces cost and delivery time by 3–5×.
- A Mule application is a collection of event-driven flows. Each flow starts with a source (HTTP Listener, Scheduler, etc.) and processes messages step by step through components.
- DataWeave is MuleSoft’s expression language — used everywhere you see
#[...]. Full scripts use%dw 2.0 / output / ---structure.
Leave a Reply